Made-to-order OEM/ODM design reference. Final construction and timing are confirmed for the project.
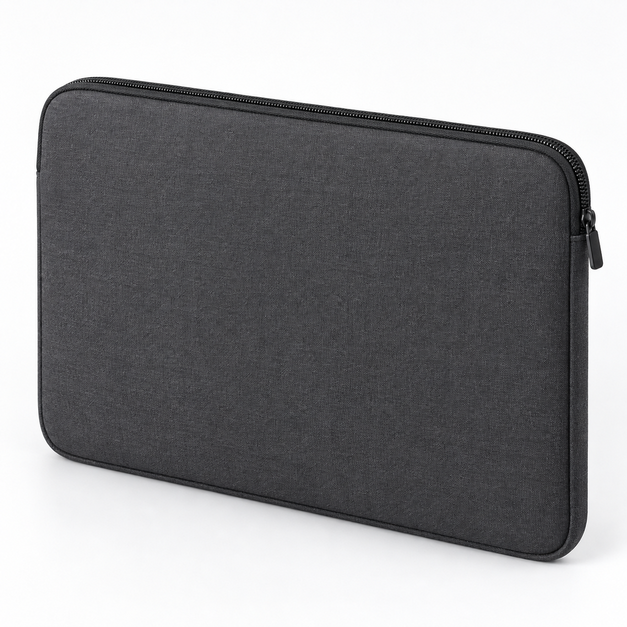
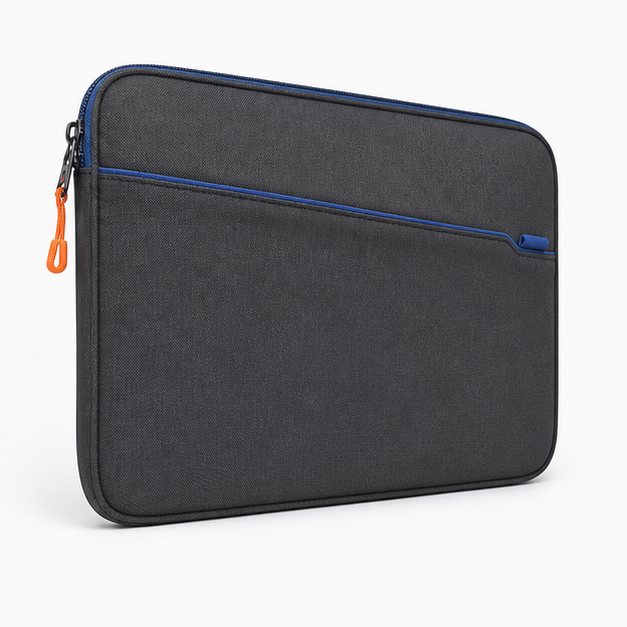
Frame is a flat padded sleeve direction for one closed laptop. The charcoal/slate-gray textile body has a long top zipper with short returns down the upper sides, a pale-gray plain interior and bound edges. For a laptop sleeve manufacturer enquiry, send the actual device envelope and the required access; nominal screen size alone does not define the pattern. The images illustrate an OEM/ODM starting point, not a completed sample or evidence of protection.
Define the entry before the outer size
The opening, padding and seam allowance must work together around the intended device. Review an assembled sample with the actual device or an agreed representative.
One plain device compartment
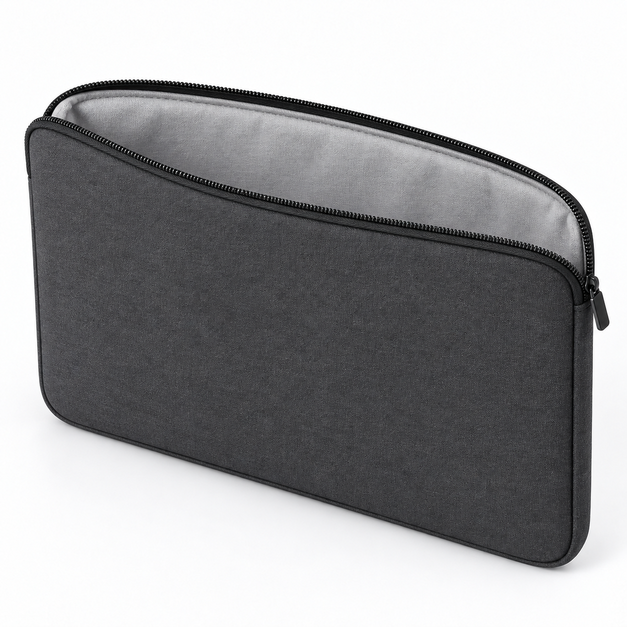
The open reference shows a pale-gray lining without dividers or accessory pockets. Record device width, depth and thickness, including any shell or case that stays fitted. Check the narrowest entry and corner route, then confirm usable internal space after the lining and padding are assembled.
Flat rectangular single-device body
Long top zipper with short upper-side returns
Plain lined interior with bound edges
No handles or additional pockets in this reference
Zipper route and bound edges
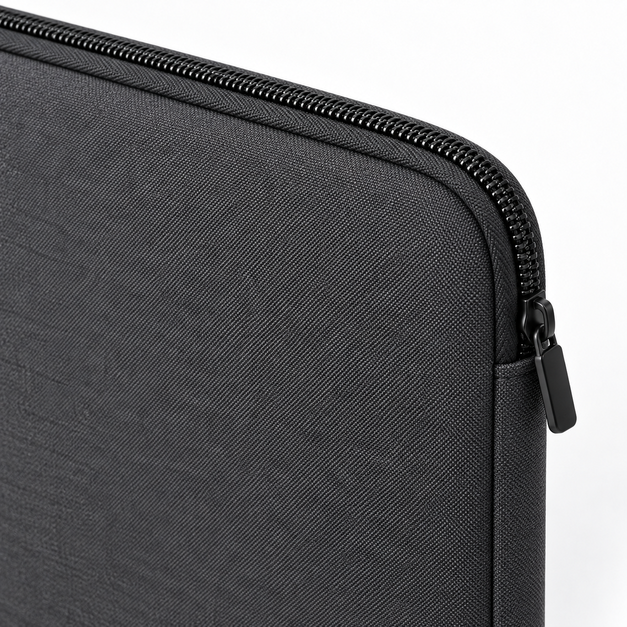
The zipper follows the long top edge and returns a short distance down each upper side. Define the opening length, end stops, seam position and edge finish together. Check that the closed device clears the zipper route without forcing the slider or trapping lining.
Charcoal/slate-gray woven textile shell direction
Pale-gray plain lining direction
Separate padding layer and bound-edge construction direction
Reference visuals, not production approval. Features, construction and any performance requirement must be confirmed on your sample.
MATERIAL BUILD
Specify the complete sleeve layer stack
Choose the shell, padding, lining and binding as one assembly. A thicker individual layer can change usable fit, edge bulk and zipper access; approve the combination rather than separate swatches alone.
Shell textile
Reference directionCharcoal/slate-gray woven textile shell direction
Confirm fiber composition, construction, weight, surface finish and approved color using the selected material reference. Review how seams and any decoration appear on the assembled face; the image does not establish a particular fiber or finish.
Lining and padding
Reference directionPlain pale-gray contact surface with a separate padding direction
Specify lining feel and finish, padding type, thickness and placement in the project brief. Recheck device entry after those choices are assembled. Padding in the illustration does not establish impact, abrasion or other protective performance.
Binding and closure
Reference directionBound edges and a long top zipper
Record binding width and finish, zipper specification, puller, end-stop location and seam allowance. Approve the upper corners where closure returns meet the edge construction, then retain the component identities with the sample record.
This same-sleeve close-up is a design reference. Material composition, finish, device fit and performance require their own approved specification and evidence.
Keep the single-device format as the starting point and mark every requested change. A change to one layer or seam may require another fit review.
Customization options
Device envelope and usable opening
Shell, lining and padding specification
Zipper route and edge construction
Branding position and project packaging
Device envelope and access
Send closed-device dimensions, corner shape and any attached case that remains in place. Identify how the device enters and leaves the sleeve. Confirm finished internal allowances and the usable opening on the sample rather than copying the external device dimensions into the pattern.
Layers, closure and seams
State the preferred shell, lining, padding direction, zipper route and binding finish. Decide whether the plain body stays free of extra pockets and handles. Record a revised component list whenever the layer stack or closure changes.
Artwork and packing
Provide the artwork file, application preference, location and color reference. Confirm any added label position against the lining and zipper route. Specify unit packing and identification for each size or color variant so the approved fit is linked to the correct order version.
FUNCTIONAL DETAILS
Questions to settle before sampling
These answers define the scope of the Frame reference and the checks needed for a buyer-specific sleeve.
01
Can a screen-size label confirm fit?
No. Devices with the same screen label can have different body dimensions and corner profiles. The sleeve brief needs the actual closed-device envelope, including any case, and an agreed assembled-fit review.
Buyer questionWhich exact device and fitted case define the approval sample?
02
Can extra padding be added without changing size?
Treat that as a pattern and fit decision. Additional thickness or a different seam stack can reduce usable space and change the upper corners. Review the revised closed profile, device entry and zipper clearance together.
Buyer questionWhich internal clearance must remain after the final layers are assembled?
03
Does this reference establish device protection?
No protective result is established. If a project requires a particular performance claim, define the use conditions, test method and acceptance criteria separately. Approve the exact construction covered by that evidence.
Buyer questionWhat evidence, if any, must support the intended project claim?
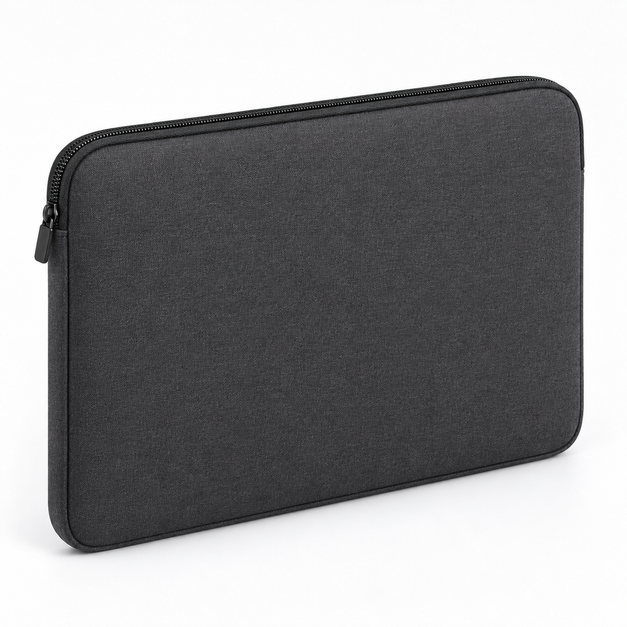
The plain back and side view belongs to the same proposed sleeve. It does not establish device compatibility, manufacturing capability or tested performance.
OEM / ODM development process
From an approved direction to a packed custom bag order
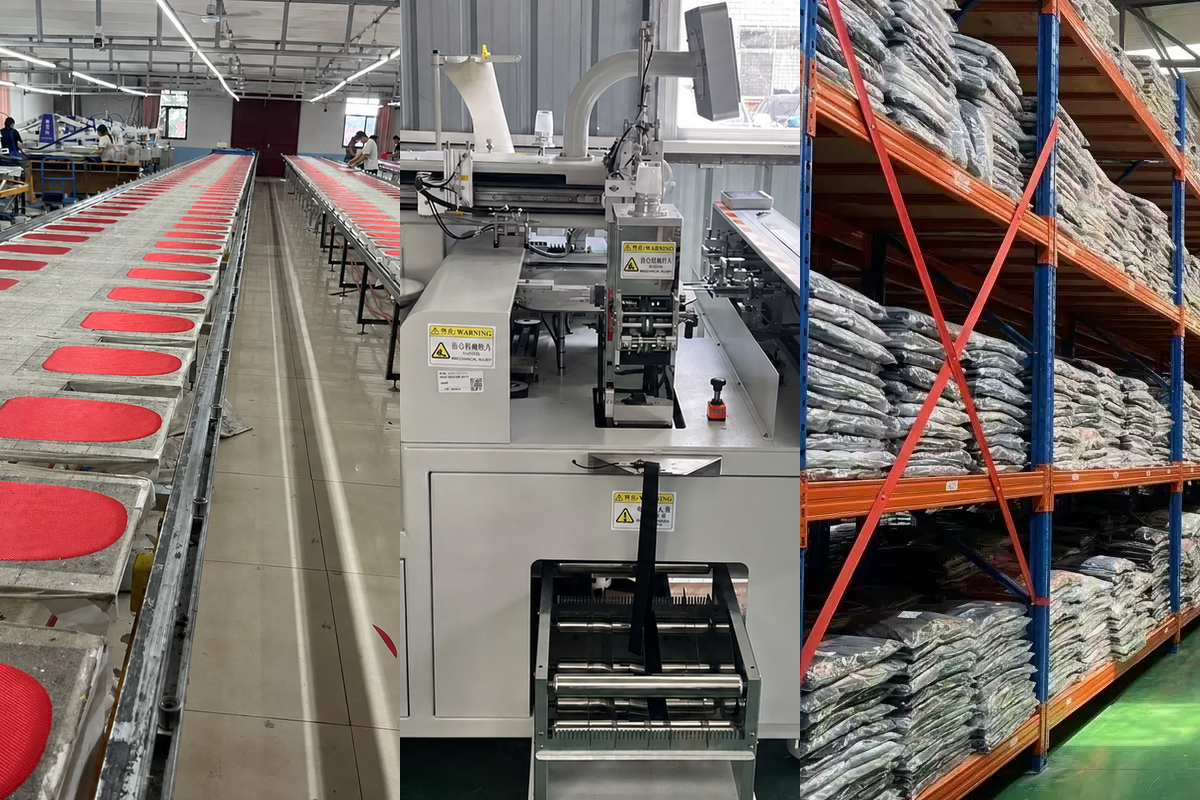
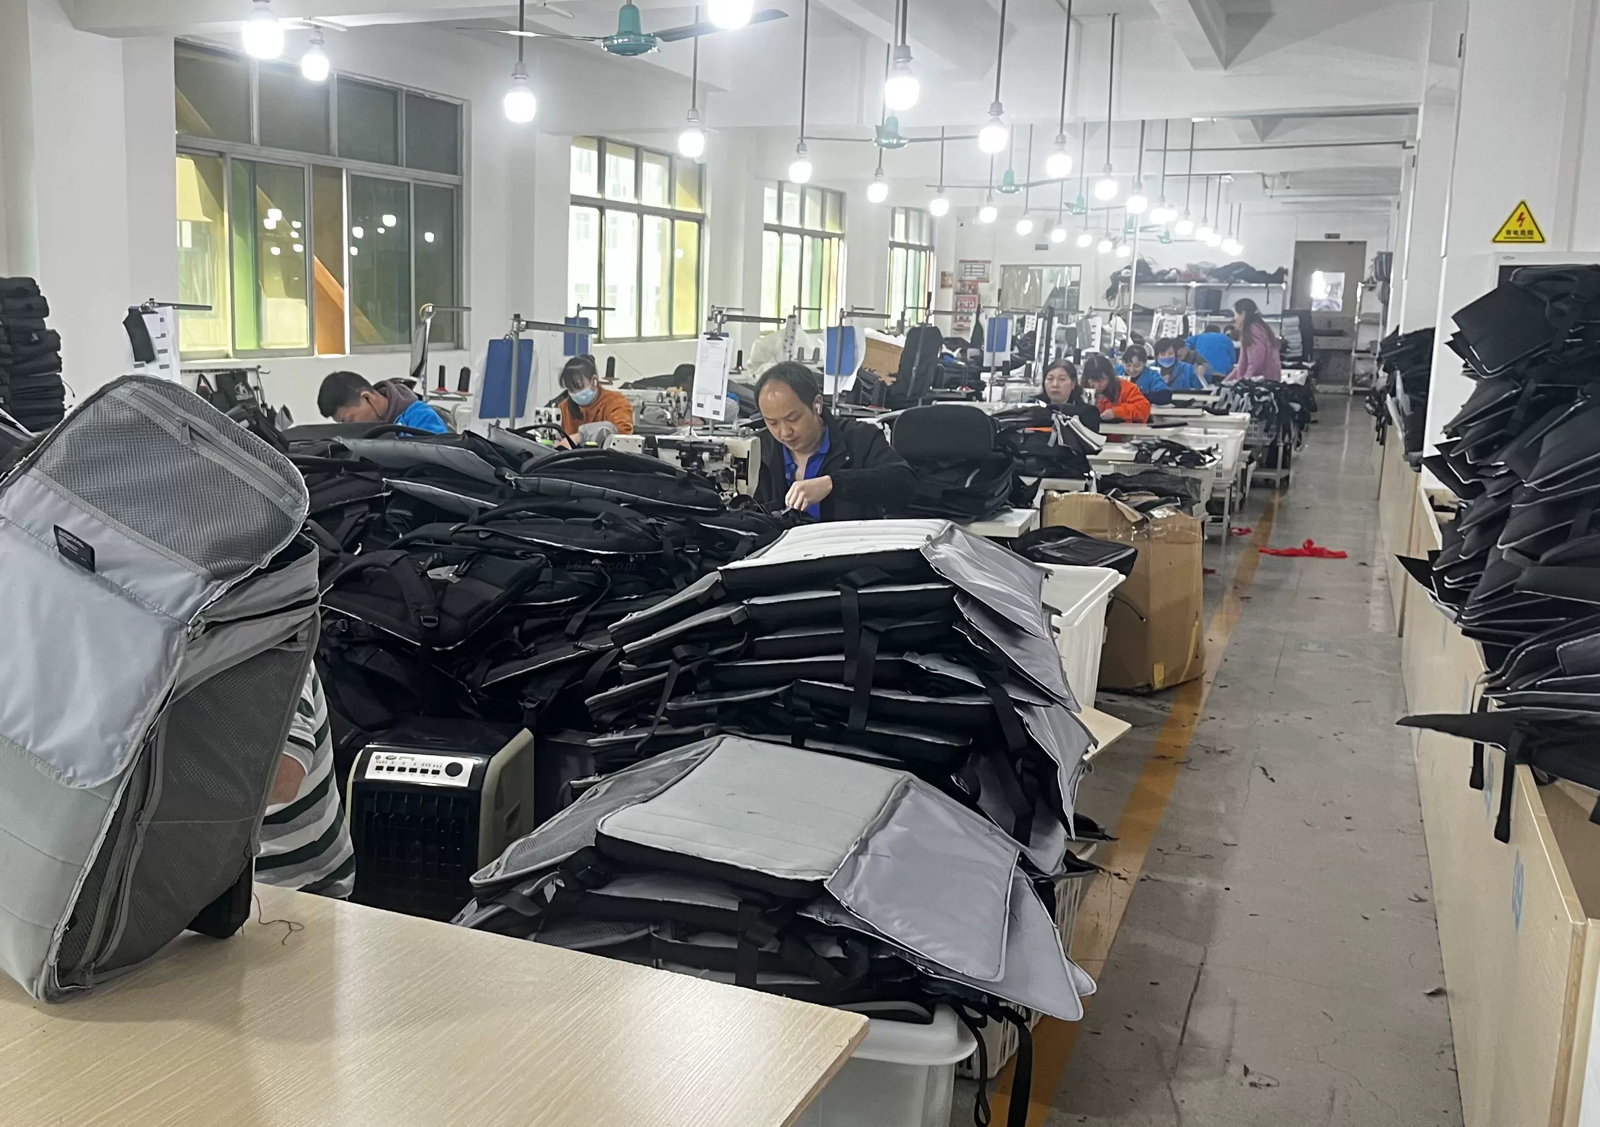
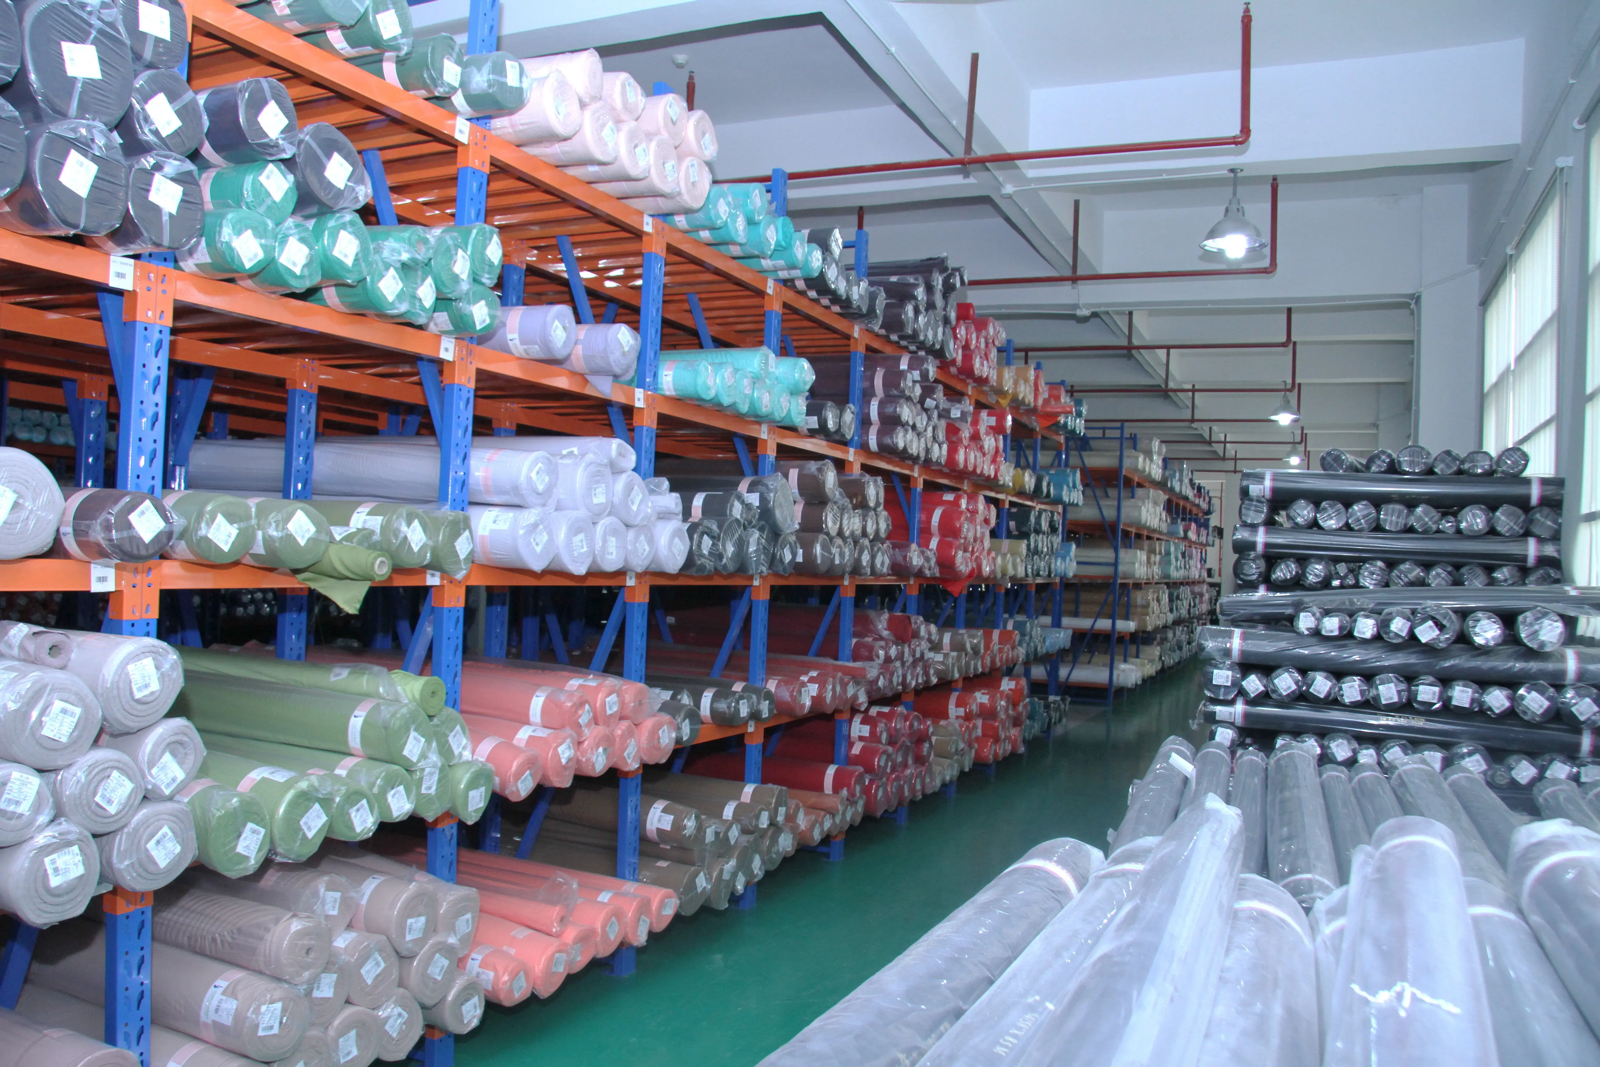
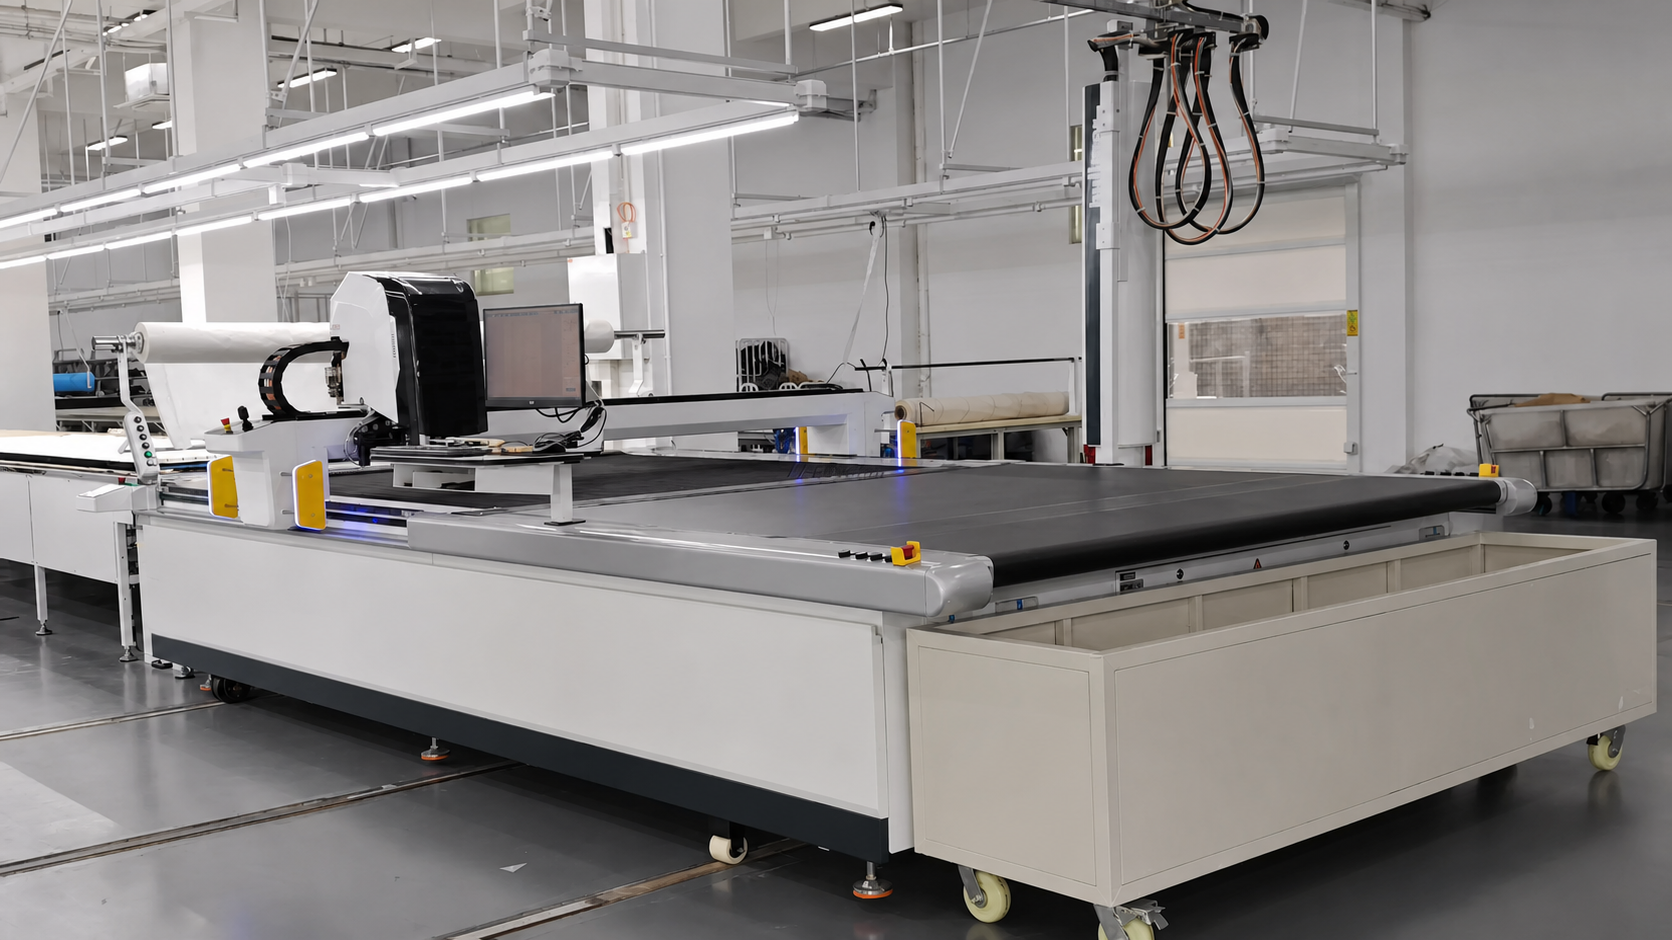
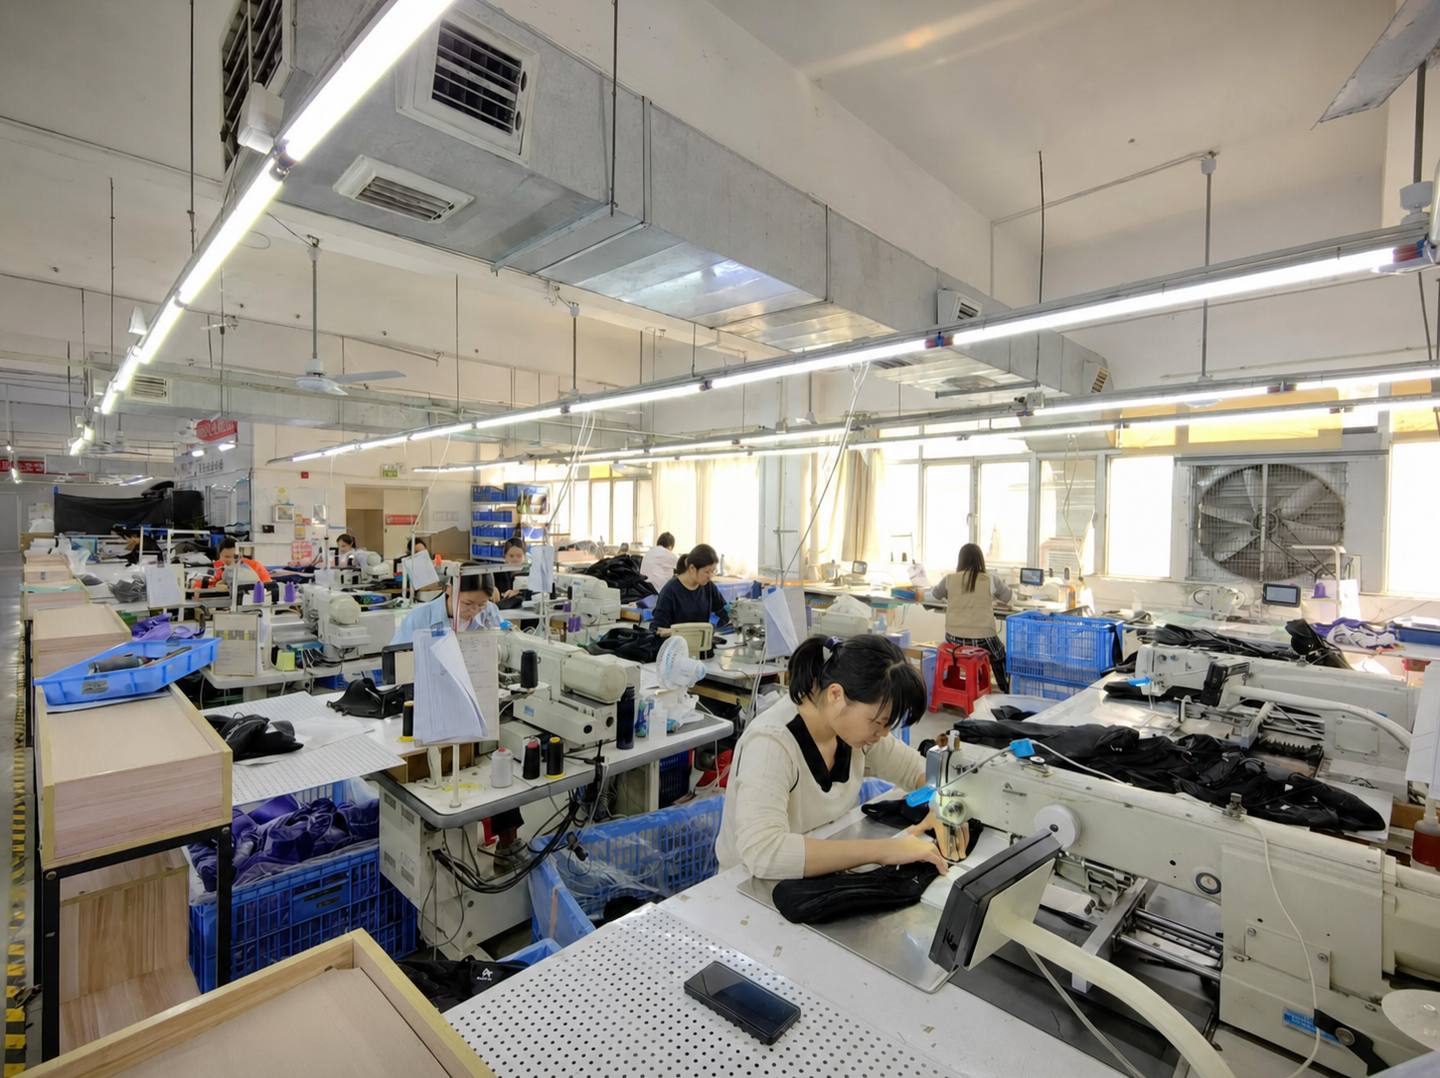
This shared OEM and ODM bag development route shows how a buyer brief moves through sampling, material preparation, sewing, agreed production checkpoints and packing.
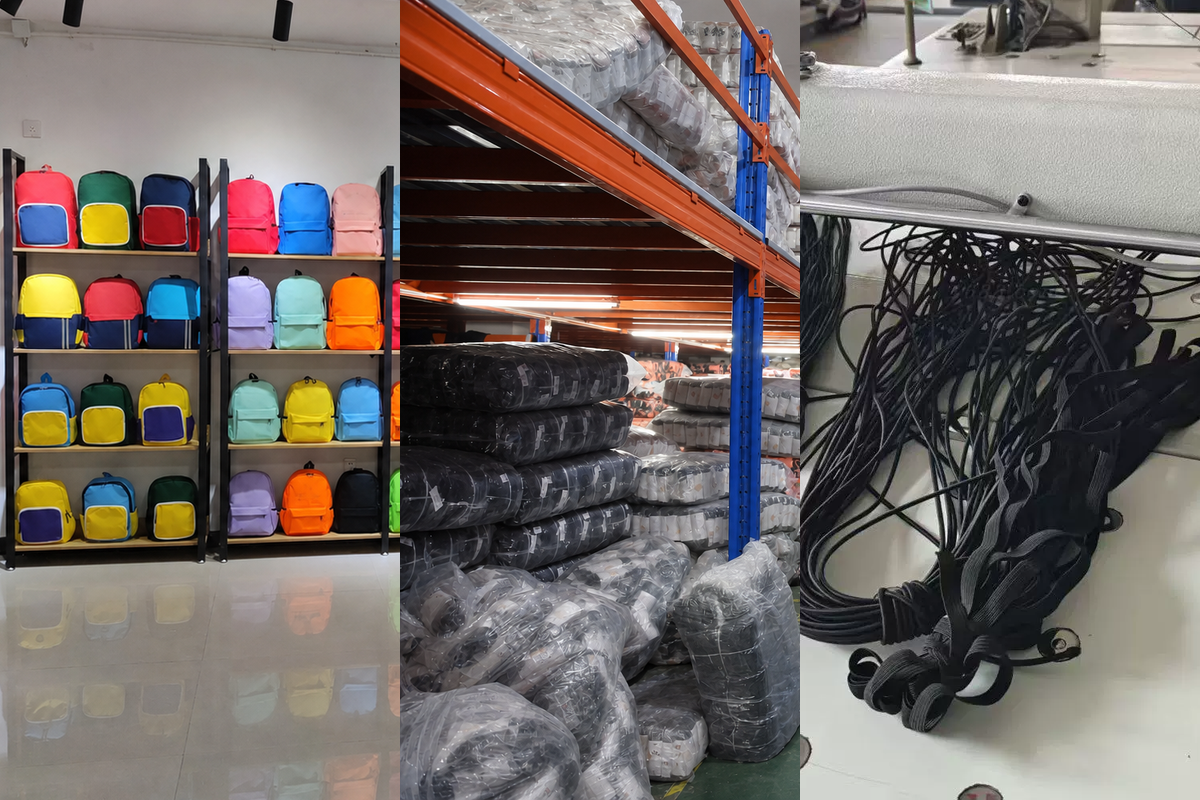
Brief input reference
01
Confirm the brief
Define intended use, dimensions, organization, material direction, branding and packing requirements.
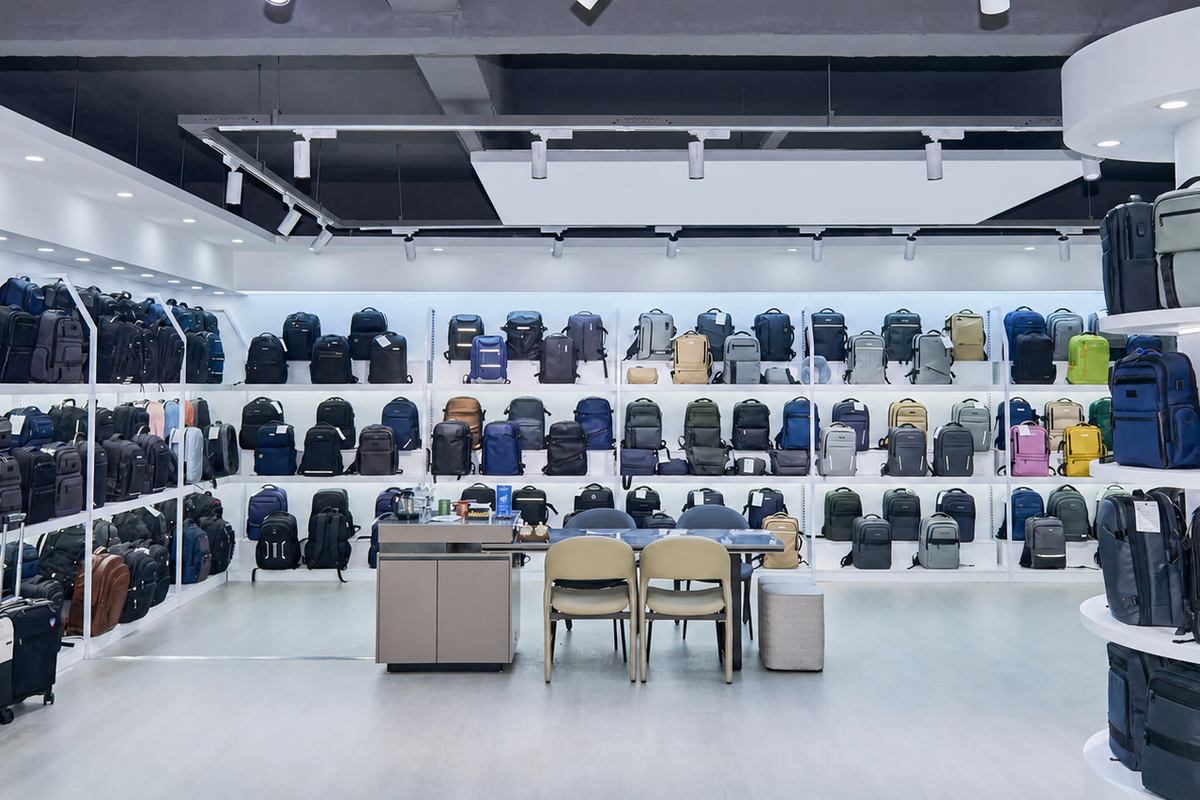
Sample review environment
02
Develop and review the sample
Turn the approved direction into a physical reference and record the revisions needed before production decisions close.
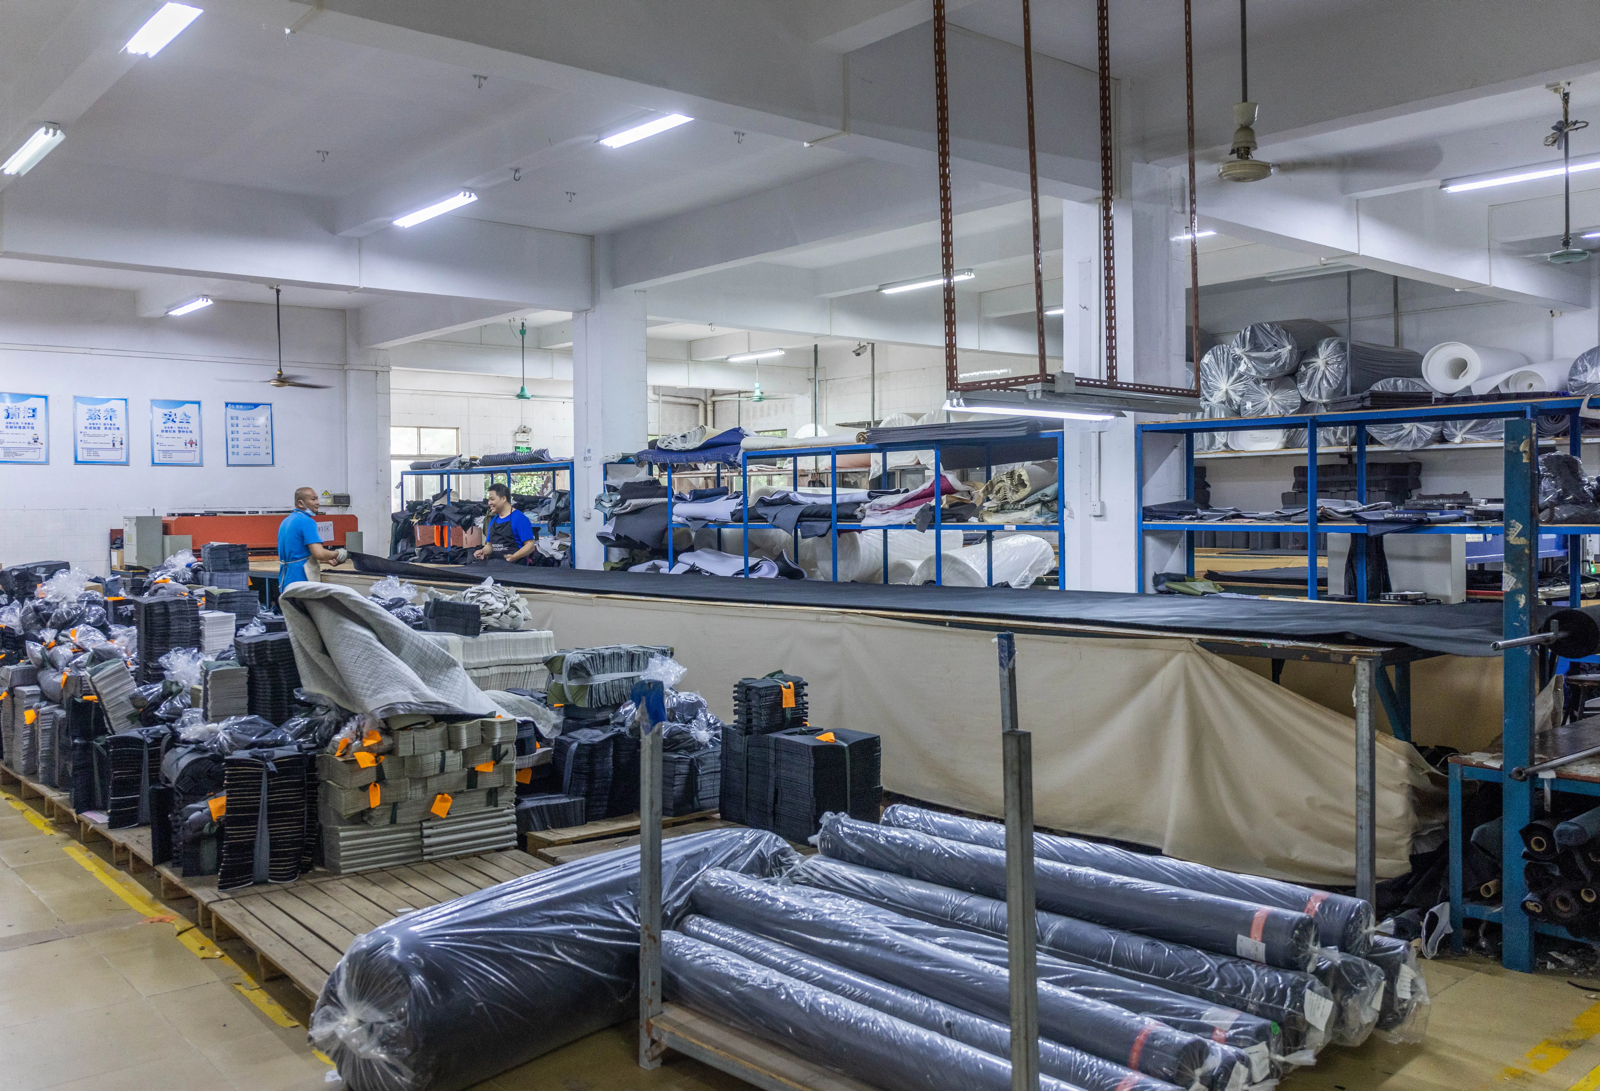
Material and panel preparation
03
Prepare materials and panels
Connect approved construction, components and color direction with material and panel preparation.
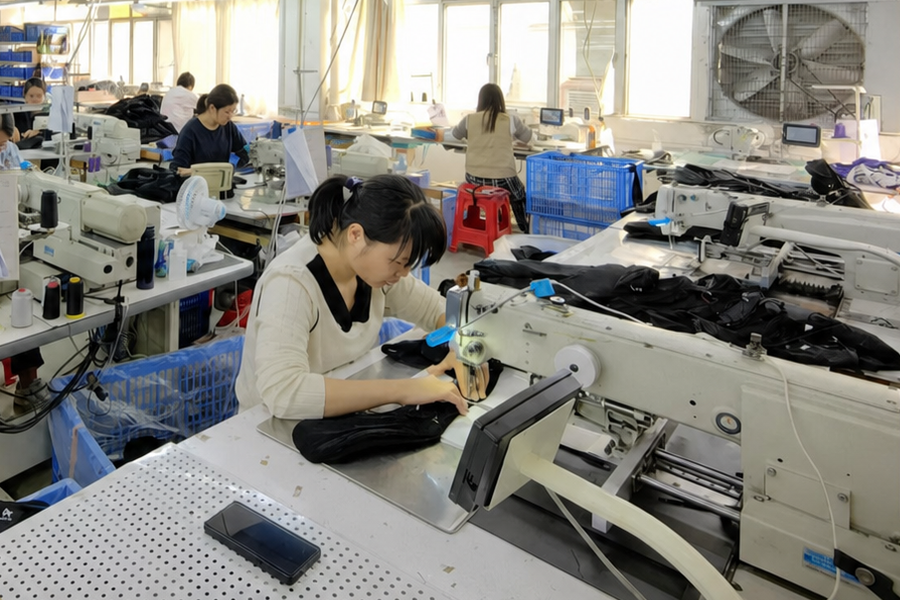
Bag sewing and assembly
04
Sew and assemble
Build the shell, lining, pockets, closures, handles and reinforcement in an agreed sequence.
Checkpoint reference
05
Follow agreed checkpoints
Review workmanship, dimensions, function, branding and order identity against the approved references for the programme.
Confirmed carton packing
06
Pack and coordinate dispatch
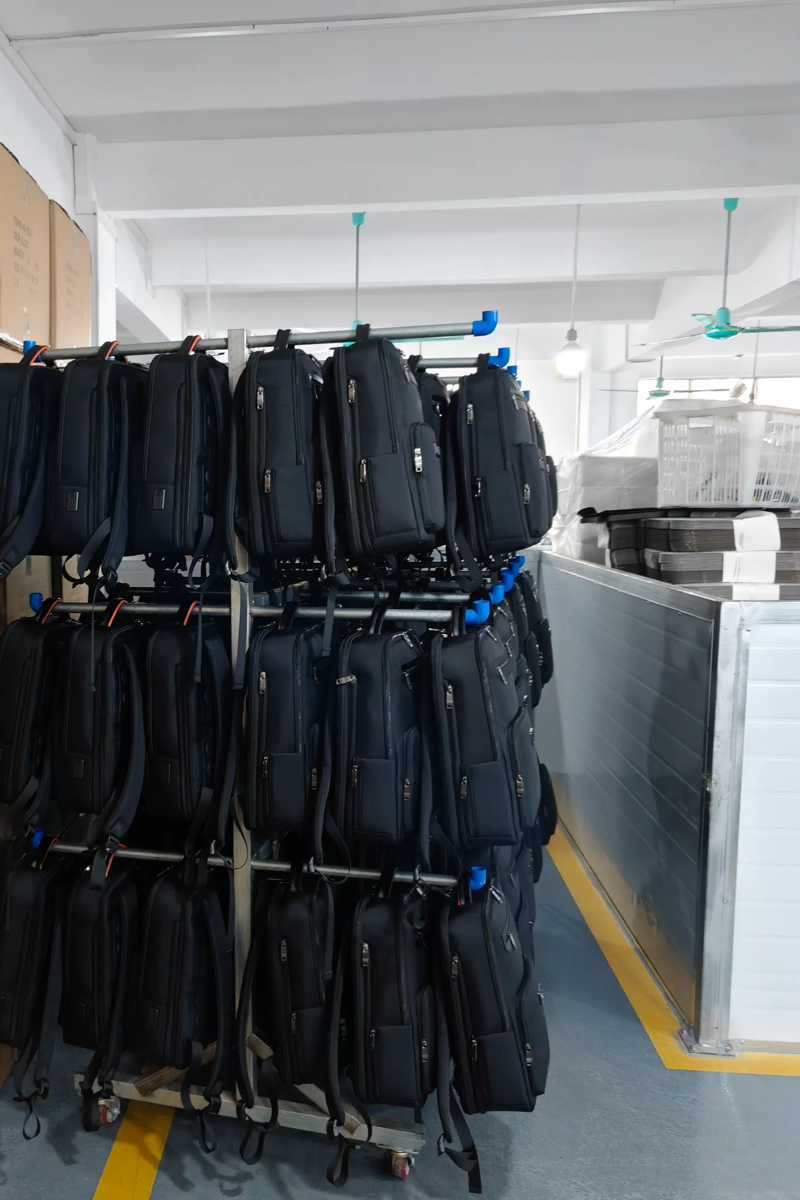
Apply the confirmed packing, labeling, carton and shipment instructions for the completed order.
The exact development, inspection and production plan is confirmed for each product, specification and buyer requirement, and no image proves every check used for every order.
Made-to-order bag production through an affiliated China factory
Forthright coordinates Truedrape bag projects with an affiliated textile bag factory in China under common ownership. Production follows the agreed project specification and approved sample.
Forthright handles commercial and development coordination. The trading company and affiliated factory are separate legal entities.
Use the agreed device or representative with the final fitted case. Insert and remove it through the intended route, close the zipper without forcing it, and inspect the upper corners and lining for interference. Record the sample version and the device used.
02
Layer and seam review
Check shell and lining identities, padding position, binding coverage, stitch placement and zipper-end finish against the approved specification. Record changes that affect usable space. Agree suitable verification separately for any requested performance claim.
03
Approval record and variants
Confirm artwork, labels, component references and packing. Tie each device-size variant to its own approved dimensions and sample record; a fit decision for one device does not approve every variant. Confirm quantity and timing after the final specification is reviewed.
Send the intended device envelope, fitted-case details, preferred layer direction, artwork, quantity per style and color, and target timing. Note any required performance evidence separately. The MOQ is 300 pieces per style per color; construction and timing are confirmed after project review.
We use essential cookies for site operation and optional analytics only with your consent.